
Choose WAV tracks or a BIN/CUE image
WAV is the practical choice when you want separate songs or spoken tracks for editing. BIN/CUE keeps a disc image together with a track-layout description. Use it when you want a disc image rather than separate audio files.
An audio CD also differs from a data disc containing MP3 files. If the disc simply holds files, those existing files may be copied through normal file handling. The ripping workflow here reads the audio tracks of an audio CD.
Check for disc read errors
Use an optical drive that can read the disc and choose an output folder with sufficient free space. The wizard exposes read-speed, retry and error-recovery settings, along with audio-paranoia and jitter-correction options. Their presence does not guarantee recovery from damaged media. Check the operation log and listen to the extracted tracks, especially where a disc has been unreliable.
Step-By-Step Instructions
- 1
Choose the ripping task
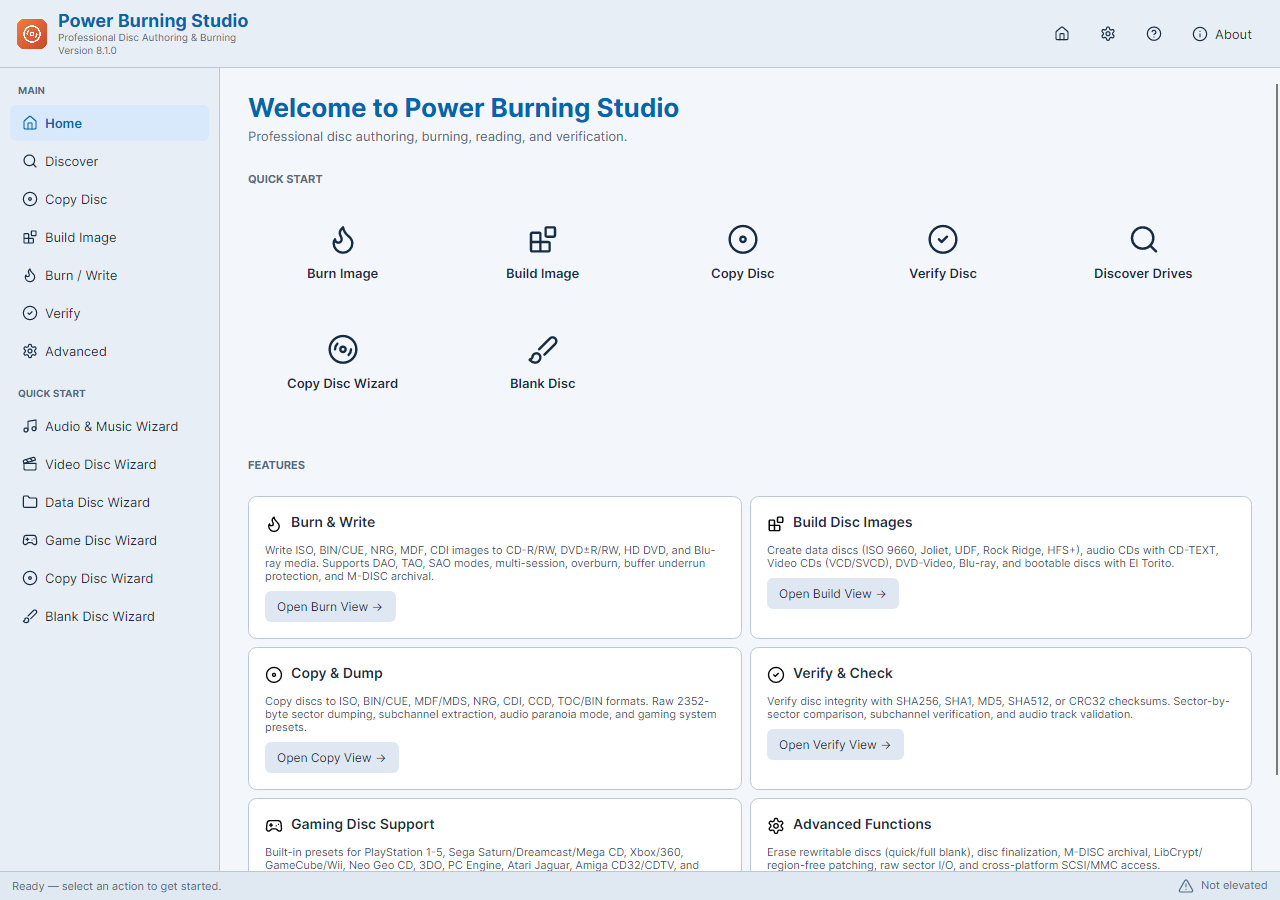
Launch Power Burning Studio with administrator permission. Open Audio & Music Wizard and choose Rip Audio CD.
- 2
Select the source and destination
Choose the optical drive containing your audio CD. Set Output Format to WAV for individual tracks, and select an Output Folder.
- 3
Review the read settings
Check the selected drive, output choice and recovery options. Continue to the summary and confirm the settings before pressing Start.
- 4
Listen to the WAV files
After completion, open several WAV tracks and listen near their beginnings and endings. Use Power Sound Editor Free if you need trims or level adjustments.
Common Questions
Can this task create MP3 files directly?
The current ripping wizard offers WAV or BIN/CUE. To make MP3 copies, open the extracted WAV files in an audio converter or editor afterwards.
Does Power Sound Editor Free read the CD itself?
This workflow uses Power Burning Studio for reading the disc. The sound editor handles the extracted audio files.